Figma to React in Three Steps: A Figma Connect Deep Dive
MagicPath Team
Team

Your team already has designs in Figma. The question is: how do you turn them into working, interactive prototypes without rebuilding everything from scratch? Figma Connect is MagicPath's answer — a direct bridge from static frames to live React components.
Figma Connect walkthrough
How it works
The workflow has three steps: connect, copy, paste.
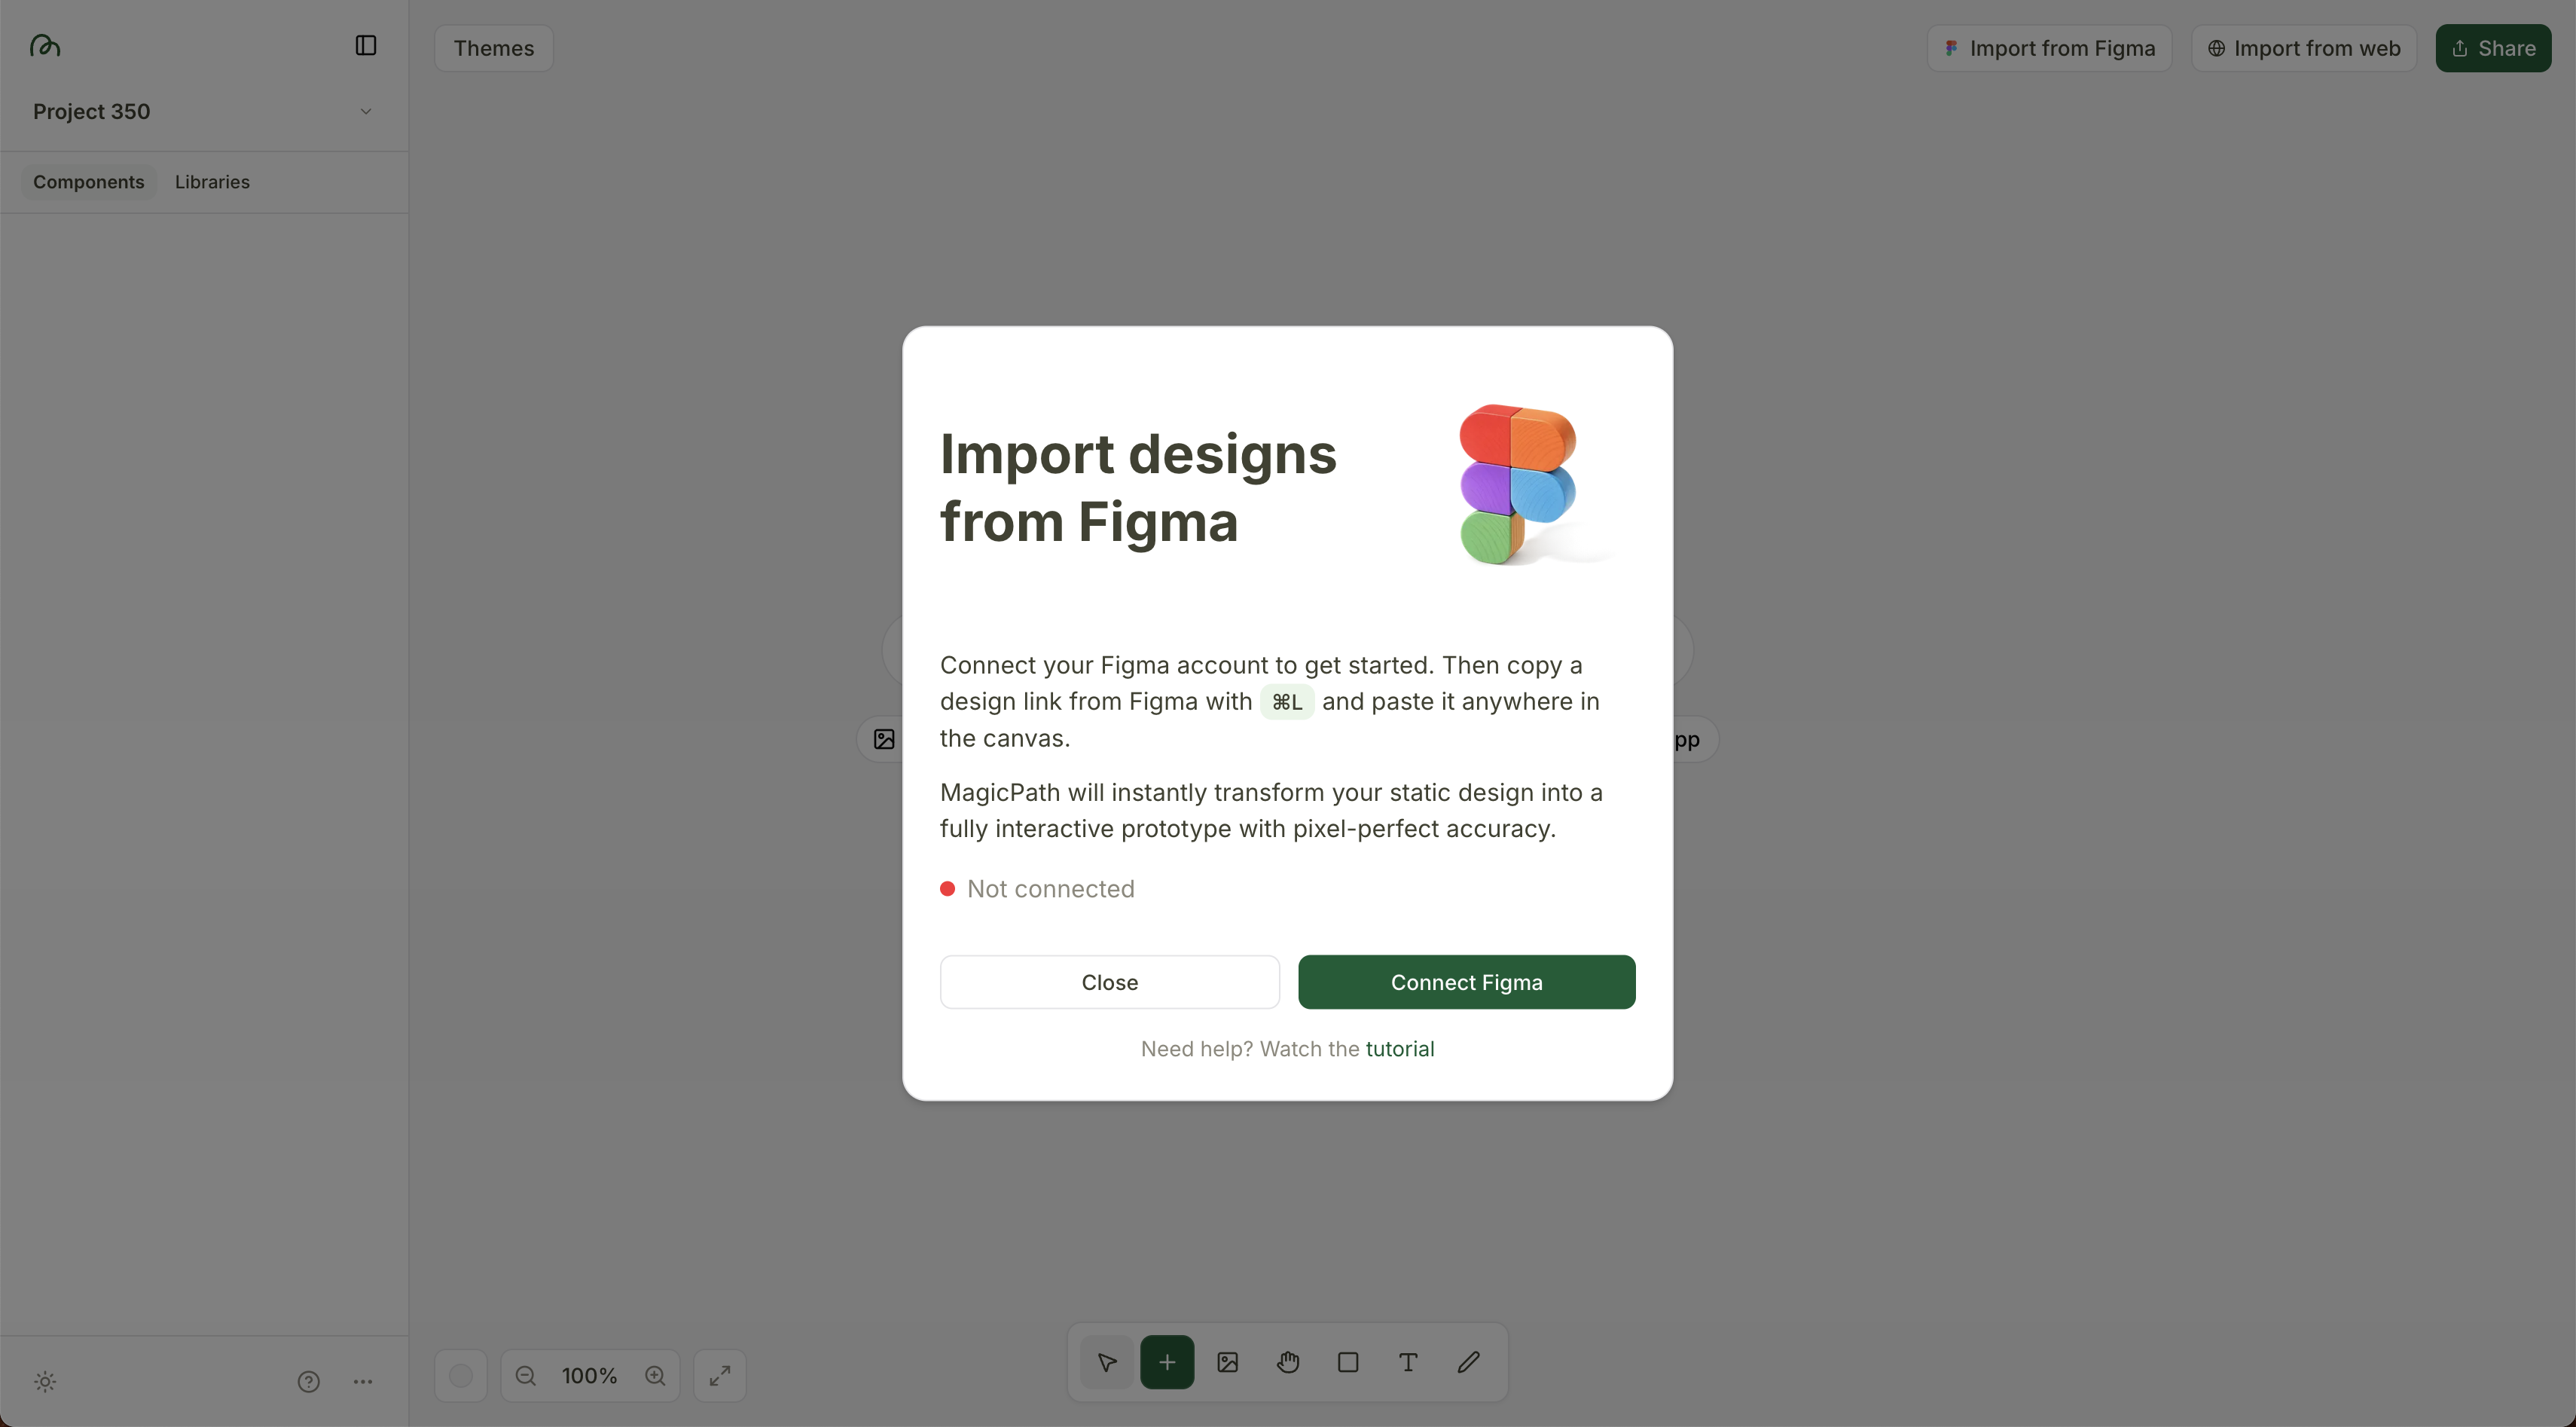
Connect your Figma account
Go to Settings → Integrations and link your Figma account via OAuth. This is a one-time setup.
Copy the frame in Figma
Select any frame in Figma and press Cmd+L (Ctrl+L on Windows). This copies the Figma URL to your clipboard.
Paste into MagicPath
Paste the link on your MagicPath canvas. The AI analyzes the visual structure — layout, colors, typography, spacing — and generates production-ready React code that matches your design.
What gets imported
Figma Connect doesn't just screenshot your design — it analyzes it. The AI extracts:
- -Layout structure — flexbox direction, alignment, gaps, and nesting
- -Colors — fills, strokes, gradients, and opacity values
- -Typography — font families, sizes, weights, line heights, and letter spacing
- -Images and assets — automatically exported and hosted
- -Effects — shadows, border radii, blurs
Tips for the best results
Use Auto Layout
Frames with auto-layout translate much more accurately to flexbox-based React components. Absolutely-positioned layers are harder to convert faithfully.
Name your layers
Descriptive layer names like "PricingCard" or "NavBar" help the AI understand component structure and generate cleaner, more semantic code.
Import sections separately
For complex pages, import one section at a time (hero, features, footer) rather than the whole page. Then combine them on your MagicPath canvas.
Generate a theme from your Figma import
One of the most powerful follow-ups after importing from Figma: generate a Theme from the imported design. MagicPath will extract the color palette, typography, and effects from your Figma frame and save them as a reusable design system. Every future generation will then match your Figma styles automatically.
Link to Theme
This works with any URL too — paste any website link and MagicPath will extract its design system. Great for matching the visual style of a competitor or inspiration site.
After the import
Once your Figma design is on the canvas as a live React component, you can:
- -Edit with AI — open the chat panel and ask for changes: "Make the CTA button larger" or "Add a dark mode variant"
- -Edit visually — double-click to enter edit mode and tweak layout, typography, and colors with the visual editor
- -Create variants — use /variant to generate alternative designs based on the imported frame
- -Share a live link — open the design in a new tab to get a shareable preview URL your team can click and interact with
- -Export the code — download the React code as a ZIP or open it directly in Cursor
Your Figma designs don't have to stay static. With Figma Connect, they become living, interactive prototypes — editable, shareable, and exportable as production code.